
call us
+86-18811954888
2026-10-22
A photocell window packed with dust, pollen and insect husks will happily keep a road lit at midday. The maintenance crew arrives, finds nothing wrong with the lamp, and replaces a sensor worth a few dollars. That single scenario explains more about how street lights work than most diagrams: the light itself is only the last link in a chain of decisions, and any weak link upstream turns a perfectly good luminaire into either a dark stretch of road or a wasted electricity bill.
Here is the short answer before the detail. A modern street light works in four stages: a sensor or clock decides that darkness has arrived, a switching device closes the circuit, a driver or ballast converts the incoming AC supply into the form the light source needs, and the lamp converts that electricity into light. Everything else on the pole, from the foundation to the arm to the surge protector, exists to keep those four stages running safely for fifteen to twenty years.
The rest of this article walks through that chain in the order the current travels, then looks at what changes when the light is solar powered, what smart controls add, which specifications actually predict reliability, and what the common failures tell you about the installation.
Most people picture a street light as a lamp on a stick. In practice it is a small electrical system with four functional blocks, and troubleshooting or specifying one is much easier when you think in those blocks.
Around these four blocks sit the mechanical and protective parts: the pole, the foundation and anchor bolts, the arm or bracket, the fuse or miniature circuit breaker, the surge protection device, the terminal block and the earthing conductor. A failure in any of them interrupts the chain, which is why a light can be "broken" for reasons that have nothing to do with the lamp.
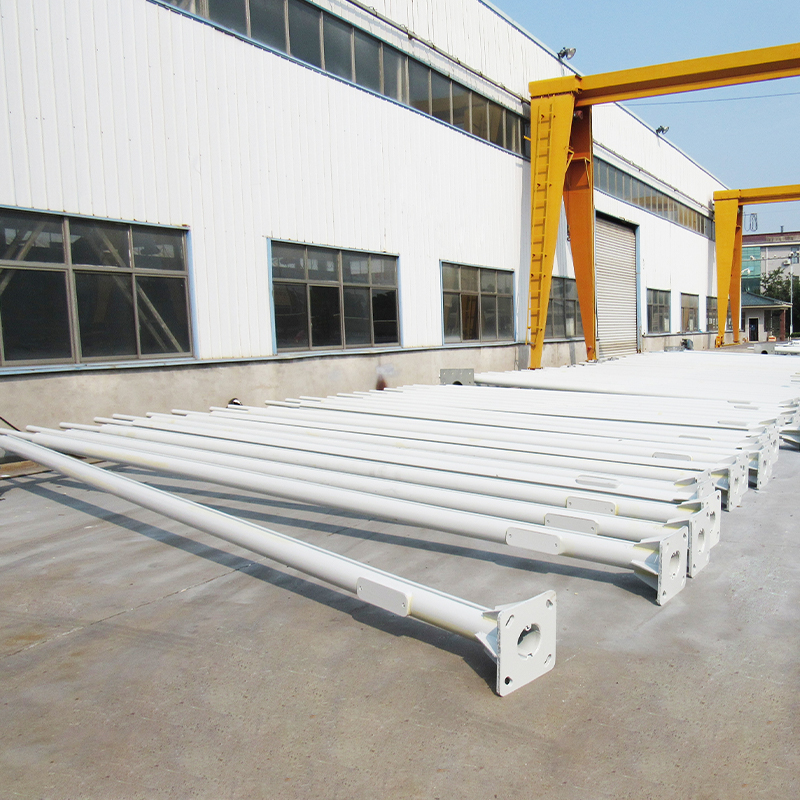
The pole looks like the least technical item in the system and is in fact the part that most often decides whether a project passes inspection. A six-metre road pole carrying a 60 W LED luminaire on a 1.5 m arm is exposed to wind loads, vibration from traffic, ground movement and, in coastal areas, salt. Galvanised steel to ISO 1461 with a minimum zinc coating around 70 to 86 micrometres, a base plate welded on both faces and a properly torqued anchor set are not decorative details; they are what keeps the luminaire pointing at the road for two decades.
The interface dimensions matter just as much in procurement as the steel grade. Most luminaires mount on a 60 mm or 76 mm spigot, and a supplier who holds ±1 mm on that diameter saves the installer an hour of grinding per pole. Wall thickness, taper, the position of the cable entry slot and the handhole door all interact with the wiring method, and they should be agreed on the drawing before production rather than discovered on site.
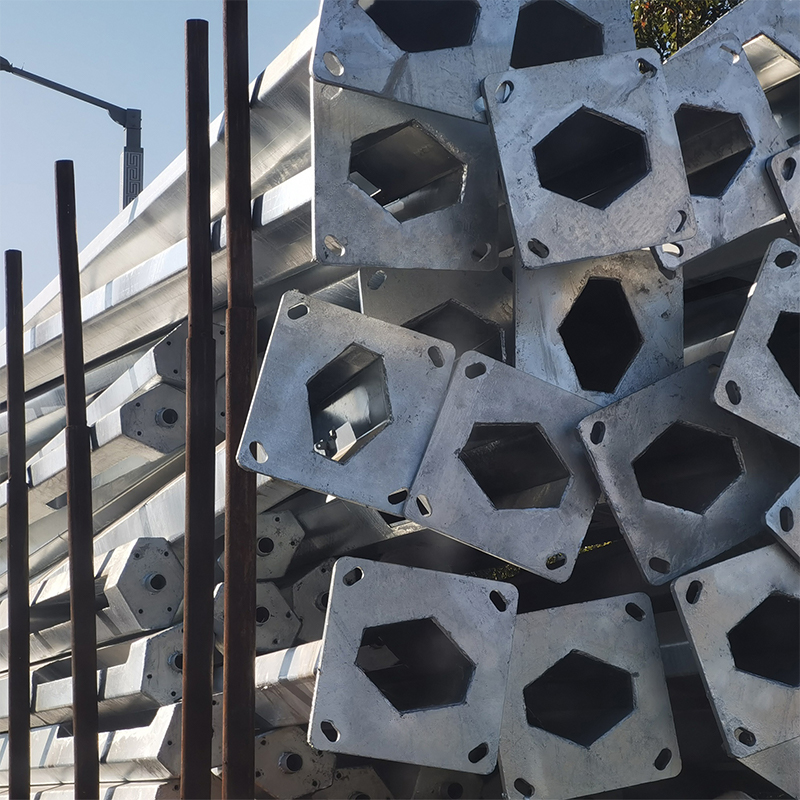 Customized Steel Street Light Poles for Outdoor LightingReview customizable round, hexagonal, octagonal, and square steel poles—3–40 m, hot-dip galvanized—when agreeing interface dimensions and handhole wiring details before production.View Product →
Inside the handhole you will normally find a fused terminal block, an earth stud, and on suspended or long-arm installations a cable gland rated to the same IP level as the enclosure. On circuits with overhead distribution or high lightning exposure, a surge protection device at or near the pole is what stands between a normal lightning season and a batch of failed drivers.
Three light sources still dominate road lighting, and each converts electricity differently.
High-pressure sodium. An arc passes through a sodium-mercury amalgam at high pressure, producing a warm golden-white light with a colour rendering index around 20 to 25. A magnetic ballast, often with an ignitor, provides the starting pulse and then limits current. HPS takes three to five minutes to reach full output from cold and, after a brief power interruption, may need one to two minutes to restrike. That restrike behaviour is the reason older installations sometimes go dark for several minutes after a substation blip.
LED. An electronic driver converts mains AC into a regulated constant current, typically between 350 mA and 1050 mA depending on the module, and the diodes emit light directly. There is no warm-up and no restrike delay. Because output scales with current, the same luminaire can be dimmed to 30 percent at 1 a.m. by reducing the drive current, which is where a large share of energy savings now comes from.
Metal halide and other discharge lamps behave in a similar way to HPS but with better colour rendering and a shorter, though still noticeable, warm-up. They are increasingly rare in new road schemes.
| Characteristic | High-pressure sodium | LED | Metal halide |
|---|---|---|---|
| System efficacy | Roughly 90 to 110 lm/W | Roughly 120 to 160 lm/W | Roughly 70 to 90 lm/W |
| Warm-up to full output | 3 to 5 minutes | Instant | 2 to 4 minutes |
| Restrike after outage | 1 to 2 minutes | Instant | 5 to 15 minutes |
| Colour rendering (CRI) | 20 to 25 | 70 to 80 typical | 65 to 90 |
| Dimming capability | Limited, stepped | Continuous, 0 to 10 V or DALI | Limited |
| Typical rated life | 15,000 to 24,000 hours | 50,000 to 100,000 hours (L70 to L90) | 10,000 to 20,000 hours |
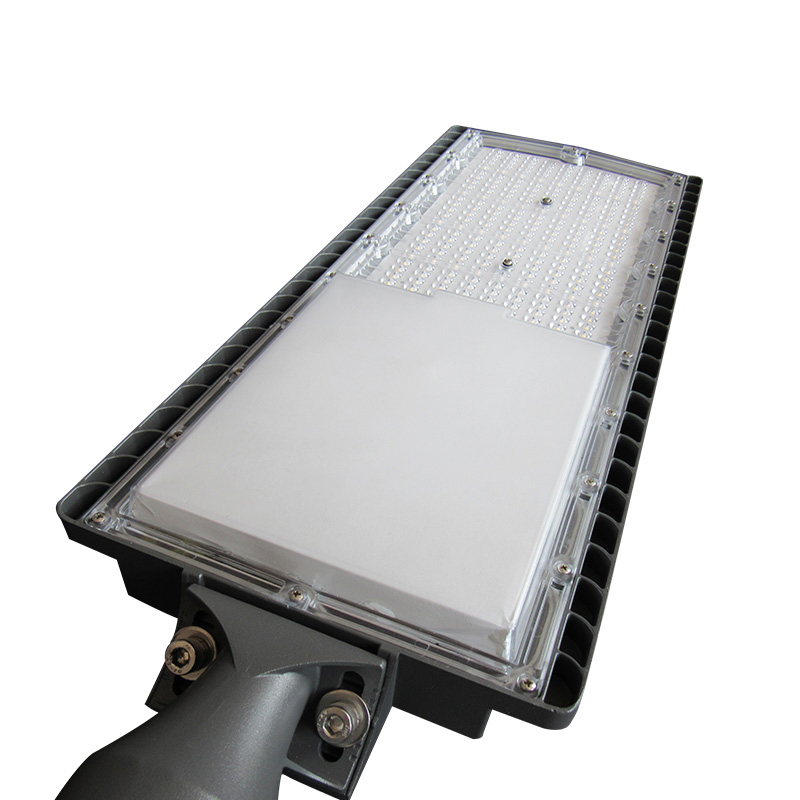 DDK-LD121 Series LED Street Light for Urban Outdoor LightingCheck this 40–200 W LED street light with 150 lm/W, IP66/IK09 housing, adjustable ±15° mounting, and dimming for HPS or metal halide retrofits.View Product →
One practical consequence of that table: when a sodium installation is retrofitted with LED, the circuit load usually drops by half or more. That spare capacity is often used to add lighting points, which is why a retrofit can improve coverage on a road without any change to the cable network.
The decision to switch on is the part most people are curious about, and it is genuinely simple at the component level.
A classic photocell uses a cadmium sulphide photoresistor, a material whose resistance falls from several megohms in darkness to a few hundred ohms in daylight. Wired into a voltage divider, it drives a comparator or transistor stage that operates a relay. Because a bare threshold would make the light chatter on cloudy afternoons, the circuit includes hysteresis: the lamp switches on at a low threshold, typically somewhere around 30 to 70 lux, and switches off again only when ambient light climbs well above that, often 100 to 150 lux. A time delay of 30 to 120 seconds filters out headlights, lightning and passing shadows.
Cadmium is restricted under the RoHS directive, so many newer sensors use silicon photodiodes or phototransistors with similar behaviour and better long-term stability. The practical difference for a buyer is small, but the failure modes differ: photoresistor sensors drift as the material ages, while silicon sensors are more sensitive to dirt on the window.
An astronomical clock stores latitude and longitude and calculates sunset and sunrise for every day of the year, then applies a configurable offset of, say, fifteen minutes before sunset and twenty minutes after sunrise. Controllers of this type usually add a midnight-off or part-night feature and handle daylight saving changes automatically. They are immune to the dust problem that plagues photocells, but they cannot respond to an unusually dark storm, so many schemes use a photocell as a fallback or a supervisory override.
Passive infrared and microwave radar sensors detect movement and raise output from a standby level, commonly 20 to 30 percent, to full power for a set hold time. On low-traffic roads and cycle paths this can cut energy use substantially. The engineering caution is that the savings only hold if the standby level still meets the minimum lighting class, and that sensors must be aimed so that tree branches and warm air currents do not trigger constant full-power operation.
Whichever method is used, the sensor is a small component with an outsized effect on operating cost. A sensor that switches on twenty minutes early across two hundred poles adds up to a measurable annual figure, and a sensor that never switches off is usually discovered by a resident rather than by the operator. For a wider look at the safety side of that equation, this discussion of how street light poles improve city safety at night covers the relationship between consistent switching and perceived security.
Between the substation and the lamp there is a cable network with real losses, and those losses explain several design choices that otherwise look arbitrary.
Street lighting circuits usually run at 230/400 V three-phase, with poles distributed across phases to balance the load. Voltage drop on long branches is the constraint that sizes the cable. Take a 230 V single-phase branch feeding 5 A over 300 m in 6 mm² copper: the resistance of one conductor is about 0.88 ohms, the loop is roughly 1.75 ohms, and the drop is nearly 9 V, or close to 4 percent. That already exceeds the 3 percent usually allowed on a branch circuit, which is why longer runs use 16 mm², or why the design switches to a three-phase feeder with shorter single-phase tails.
Inside the luminaire, the driver or ballast does three jobs at once: it regulates current to the light source, it holds power factor above 0.9 so the supply is not burdened with reactive current, and it limits harmonic distortion, typically below 20 percent total. A good LED driver also includes surge protection rated at 10 kV / 5 kA or higher on the mains input, and a thermal foldback that reduces output rather than letting the module cook when a heatsink is blocked.
Earthing deserves its own sentence. Class I luminaires rely on a solid protective earth at every pole; a corroded earth stud or an interrupted bonding conductor turns a minor insulation fault into a shock hazard, and it is one of the items most often missed in periodic inspection.
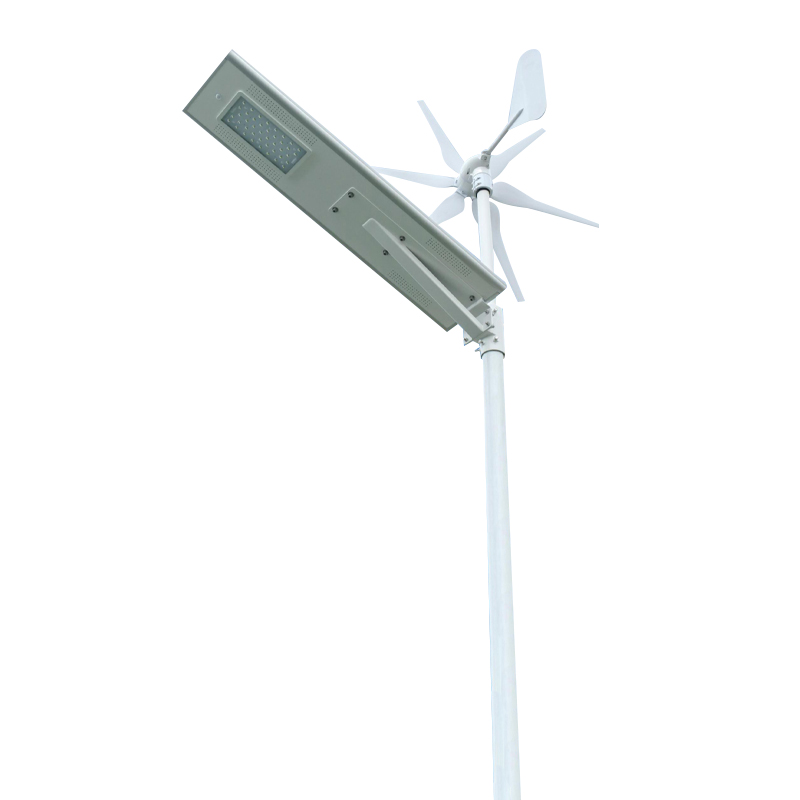
A solar street light performs the same four stages, but the "convert" block is split in two and the "switch" block gains an energy budget. The panel generates DC during the day, a charge controller regulates that into the battery, and at night the controller draws from the battery and drives the LED through a constant-current stage. The controller also owns the dusk decision, using panel voltage as a light sensor, which is why solar lights sometimes switch on during a heavy storm.
Sizing is arithmetic, and it is where most disappointing solar projects go wrong. Consider a 60 W LED that runs 11 hours a night at full output. That is 660 Wh of daily energy. With a lithium iron phosphate battery limited to 80 percent depth of discharge and three days of autonomy, the required capacity is 660 × 3 ÷ 0.8, roughly 2,475 Wh, which at 25.6 V is about 97 Ah. The panel has to replace 660 Wh in an average of four peak sun hours with system losses around 25 percent, so it needs roughly 220 W. A supplier who quotes a 100 W panel for that load is quoting a system that will fail in its first cloudy week.
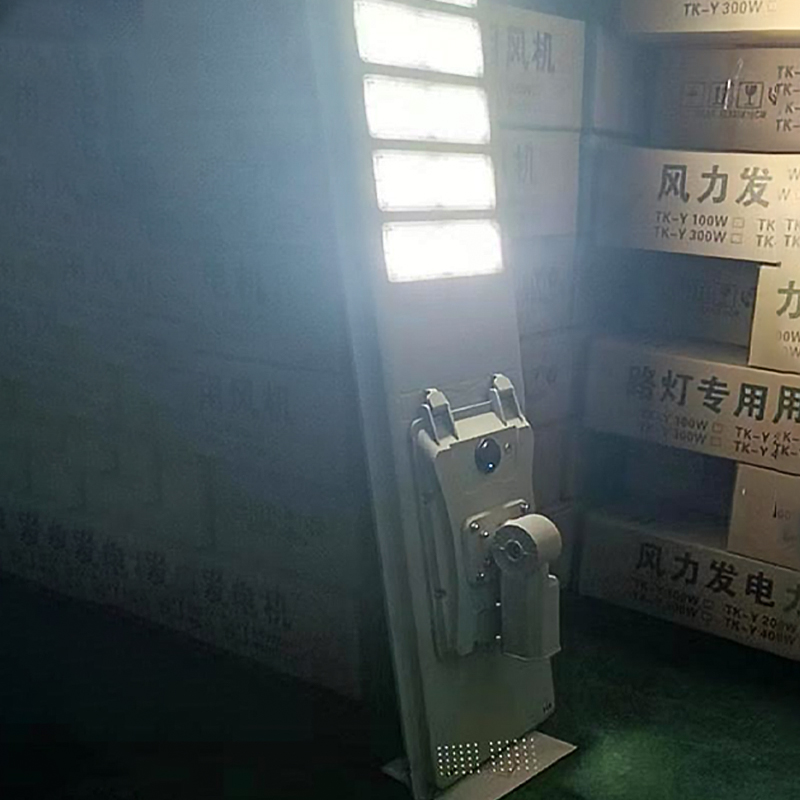 DDK-S0219 Solar All-in-One Street Light Outdoor LampAn integrated solar street light with 100 W panel, LiFePO4 battery, 150 W LED, IP65 aluminum housing, and 8–10 m mounting for project sizing.View Product →
The physical arrangement also matters. All-in-one units integrate panel, battery and light in one housing, which simplifies installation but concentrates heat around the battery. Separated designs put the panel on top of the pole or on a bracket and the battery in the base compartment, which is friendlier in hot climates and easier to service. Either way, the battery chemistry decides service life far more than the LED does: lead-acid in a hot enclosure may last two years, lithium iron phosphate five to eight.
The change that has done most to alter how street lights work is not the light source but the controller. A modern luminaire often carries a NEMA 7-pin socket to ANSI C136.41 or a Zhaga Book 18 interface, into which a node is plugged. That node may contain a photocell, a real-time clock, a power meter, a tilt or vibration sensor and a radio.
Communications run over a wireless mesh in which each node relays for its neighbours, or over cellular NB-IoT and LoRaWAN where a mesh is impractical. On the lighting side, dimming follows DALI or a 0-10 V signal. The result is a system that can report its own failures, dim by schedule, raise output on detection, meter energy per pole and provide a data feed to the city.
Two practical points are worth flagging. First, interoperability is a procurement question: a proprietary protocol locks the operator into one vendor for every future node. Second, cybersecurity is not optional once a few thousand devices sit on a network. Default passwords, unencrypted mesh links and unpatched firmware are the usual weak points, and they should be addressed in the specification rather than after commissioning.
Lighting design is settled in photometric software, but the parameters that matter can be stated plainly, and knowing them makes a specification far easier to write.
| Parameter | What it controls | Typical requirement |
|---|---|---|
| Maintained average luminance | How bright the road surface appears | Set by lighting class, commonly 0.5 to 2 cd/m² for traffic routes |
| Overall uniformity (Uo) | Evenness, avoiding dark patches | 0.35 to 0.40 minimum |
| Colour temperature | Appearance and acceptance by residents | 3000 K to 4000 K on residential roads |
| Ingress protection | Dust and water resistance of optical and driver compartments | IP66 for the optical chamber, IP67 driver |
| Impact resistance | Vandalism and stone damage | IK08 or higher |
| Surge protection | Survival of lightning and switching transients | 10 kV / 5 kA, with optional external SPD |
| Lumen maintenance | Usable life before replacement | L80 or L90 at 50,000 to 100,000 hours |
| Power factor and THD | Supply quality on long circuits | Above 0.9 and below 20 percent |
Two of these deserve emphasis because they are frequently underspecified. Uniformity is what drivers actually experience: a pole spacing that produces high average luminance with a uniformity of 0.2 creates alternating pools of light and shadow that feel less safe than a dimmer but even installation. Lumen maintenance is what the operator pays for: an L70 rating at 50,000 hours means the installation will be delivering 70 percent of its original output in roughly year twelve at ten hours a night, which is the moment to plan a module replacement rather than an emergency call-out.
Field diagnosis gets much faster when you work from symptom to block rather than replacing parts at random.
| Symptom | Likely cause | First check |
|---|---|---|
| Lit during daylight | Contaminated photocell window, threshold set too high, stuck contactor, wrong astronomical clock configuration | Clean or cover the sensor and watch the relay |
| Dark at night while neighbours work | Failed driver, blown fuse in the handhole, failed photocell, open circuit in the arm wiring | Measure supply at the terminal block before touching the luminaire |
| Repeated switching at dusk | Insufficient hysteresis, reflected light from the road surface, unstable supply | Sensor settings and mounting angle |
| Flicker or partial output | Failing driver, loose neutral, water ingress in the optical chamber | Driver compartment for condensation and terminal torque |
| Visible dimming over months | LED lumen depreciation, yellowed lens, dirt build-up, thermal foldback from a blocked heatsink | Compare against commissioning measurements |
| Breaker trips at switch-on | Insulation fault, end-of-life surge protector, moisture in the pole | Insulation resistance test on the branch |
| Whole circuit dark | Feeder fuse, contactor failure in the pillar, timer or clock fault | Check the control pillar before any pole |
One pattern is worth remembering: when several luminaires on the same branch fail within a few weeks of each other, the cause is usually upstream or environmental rather than the lamps themselves. A surge event, a loose neutral or a corroded earth bar will take out drivers in clusters, and replacing them without fixing the cause simply repeats the cost.
Most procurement risk in outdoor lighting sits in the gap between a catalogue description and a drawing. Closing that gap is largely a matter of documentation.
It also helps to know your supplier's engineering depth, not just their price list. A manufacturer who can read a customer drawing, produce a sample and flag a wind-load problem before production is worth more on a municipal scheme than one who simply quotes a lumen figure. Information on the manufacturing and quality controls behind outdoor lighting products is a reasonable way to judge that before awarding an order.
A street light that is never maintained does not fail suddenly; it degrades quietly until the road no longer meets its class. Three routines cover most of the risk.
Cleaning. An annual wash of lenses and photocell windows restores a surprising share of lost output, and it is the cheapest intervention available. On coastal or dusty sites, twice a year is realistic.
Thermal inspection. Drivers and LED modules fail faster when their heatsinks are blocked or their compartment is full of condensation. A thermal camera survey at night identifies both failing drivers, which run hotter than healthy ones, and water ingress before it becomes a short circuit.
Electrical checks. Insulation resistance, earth continuity and torque on terminal screws and anchor bolts belong in a multi-year cycle. Surge protection devices should be inspected for end-of-life indication, and solar batteries should be capacity tested from year four onward so replacement is planned rather than reactive.
Recording the results matters as much as doing the work. A maintained-luminance model is only valid if the operator knows what the installation measured at commissioning and what it measures now; without that baseline, every decision about relamping or replacement is guesswork.
So how do street lights work? They sense the light level or consult a clock, close a switching device, convert the supply into a controlled current, and emit light through an optical system designed for a specific road class. The parts are ordinary; the engineering is in making them agree with each other for twenty years, across temperature swings, wind loads, lightning seasons and a maintenance budget that is always smaller than the designer hoped.
When a light misbehaves, work along the chain rather than around it: sensor first, then switch, then supply, then driver, then lamp. When a project is being specified, work along the same chain in reverse, starting from the lighting class the road needs and ending with the pole that will hold it up. That habit, more than any single component choice, is what separates an installation that quietly does its job from one that keeps a maintenance crew busy.
Related Products
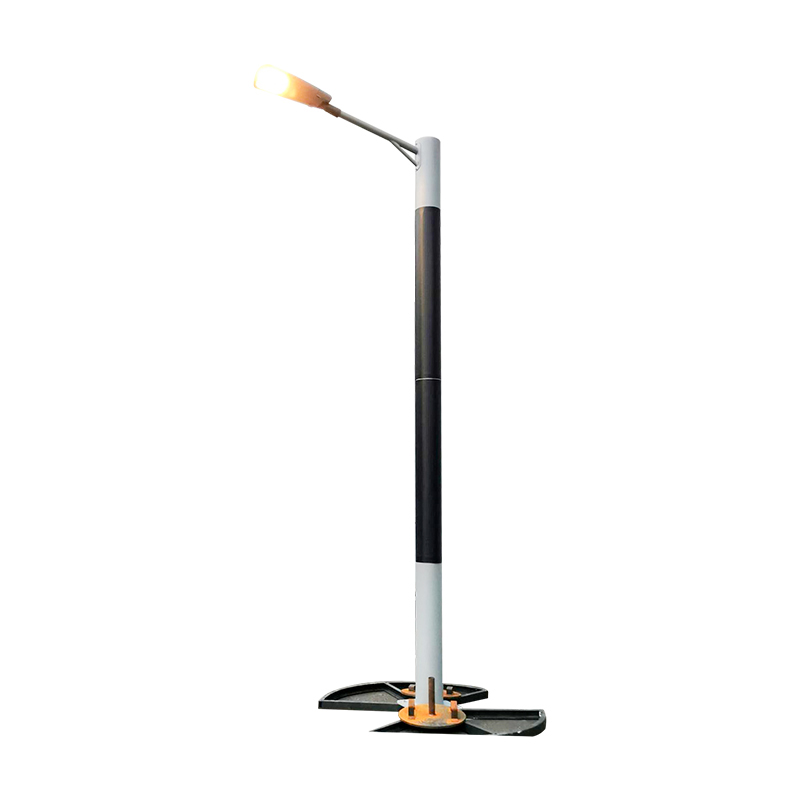 DDK-SSPL-2000 Cylinder Solar Pole Single/Double Arms And Street LED Lamps
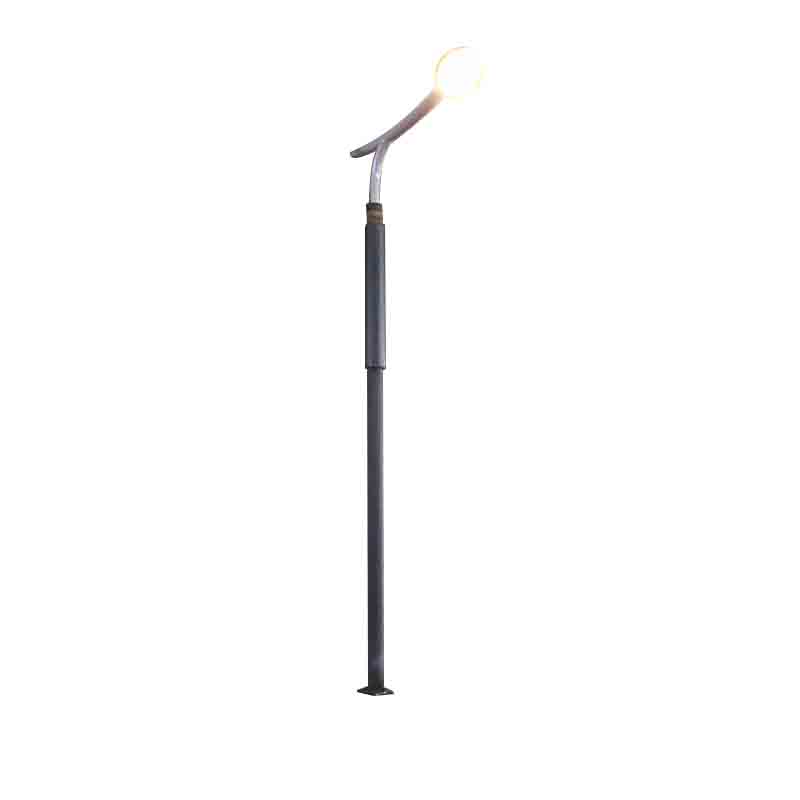 DDK-SSPL-2002 Cylinder Solar Pole With Lamp Head
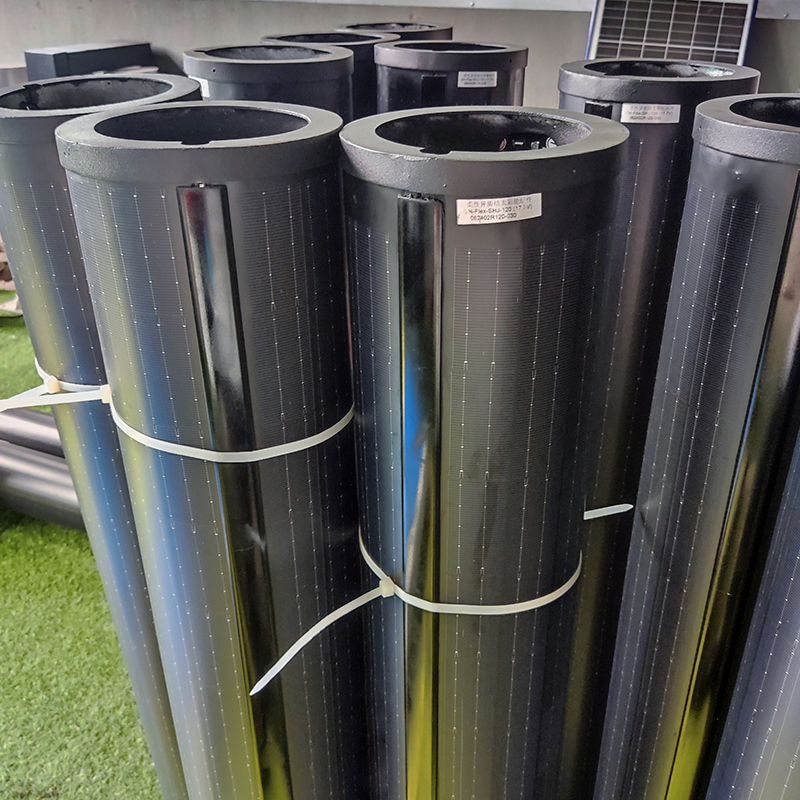 140W Flexible Solar Panel: High-Performance, Elegant and Versatile Power Solution for Lighting Poles and Park Lightings
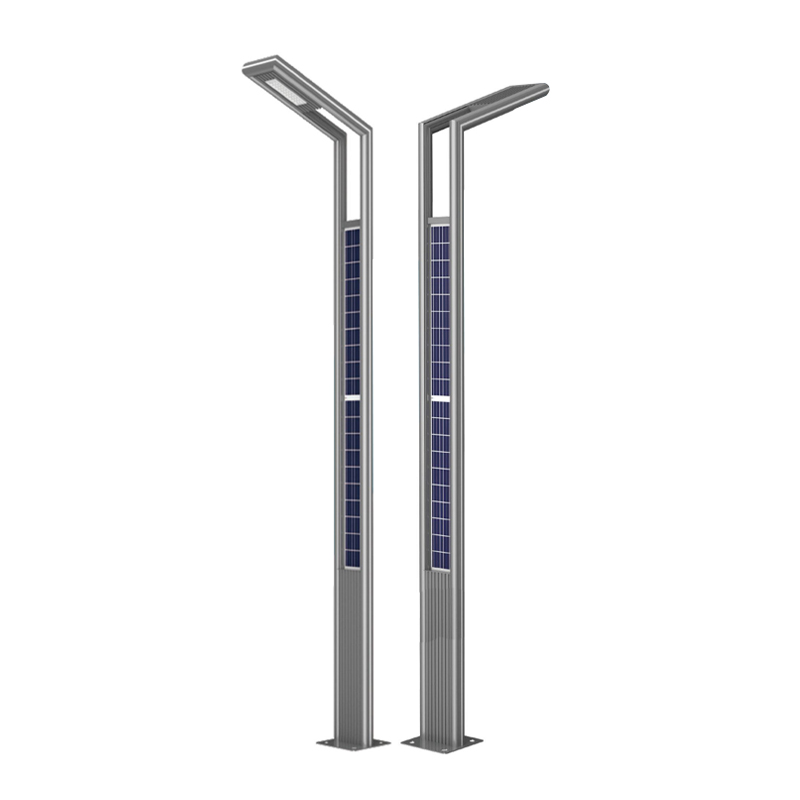 DDK-GN003 Double Sides Integrated Solar Aluminium Pole
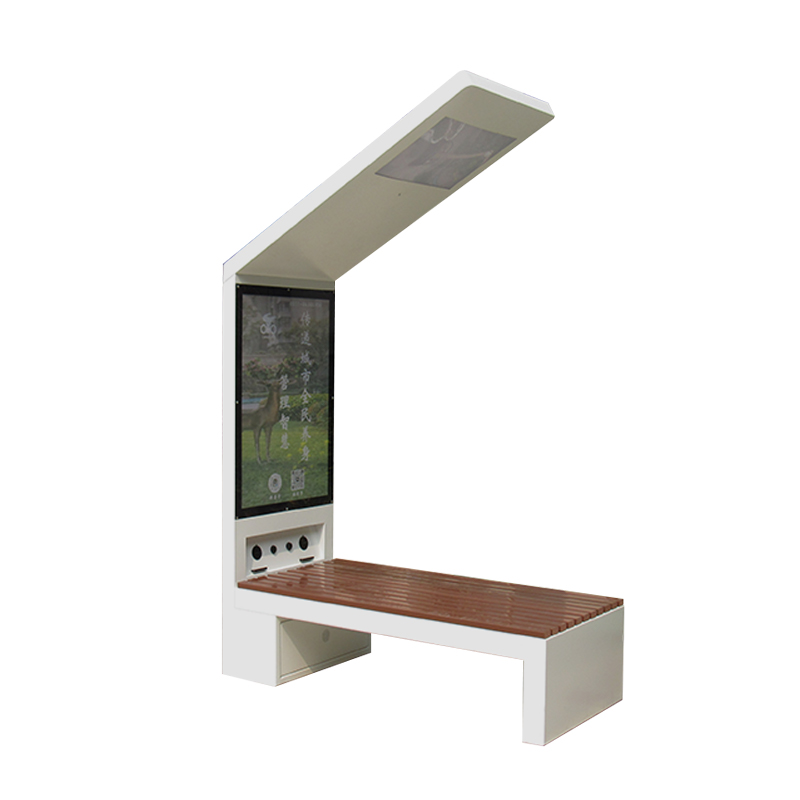 DDK-2000A Charging WIFI Solar Bench Outdoor Bench with Roof on the Top
 DDK G01 Solar&Wind Hybrid Integrated Optical Lens Solar All in One Light
 Customized Round Hexagon Octagonal Square Steel Street Light Poles for Outdoor Lightings
 3 to 16M Galvanized Steel Hinged Poles
Contact us
180 meters south of the intersection of Nanbei Avenue and Xuba Road, Gaoyou City, Yangzhou City, Jiangsu Province, China.
+86-18811954888
ddk@cnddk.net
 English
 русский
 Español
 عربى

