
call us
+86-18811954888
2026-09-03
The best solar lights to put on a pole combine a panel wattage of at least 15 to 40 watts, a lithium iron phosphate (LiFePO4) battery with 20 to 40 watt-hour capacity, a motion-sensing LED head producing 1,500 to 6,000 lumens at peak brightness, and an IP65 or higher weatherproof rating for all exposed components. At the consumer market level, the MAGGIFT 300 Lumen Solar Lamp Post, the Gama Sonic GS-106D Baytown II, and the Sunforce 82080 LED Solar Motion Light on a pole mount represent well-reviewed choices across decorative, residential security, and commercial pathway applications respectively. For commercial and municipal outdoor solar light pole applications, integrated all-in-one solar street lights from manufacturers such as CINOTON, JACKYLED, and Lepower at 3,000 to 8,000 lumens address parking lots, rural roads, and campus pathways where grid connection would require significant civil engineering investment.
Decorative Garden
A bright solar lamp post in a lantern or carriage-light style with 200 to 800 lumens for path marking and visual ambiance. Focus on aesthetic finish and dusk-to-dawn operation over raw brightness.
Residential Security
A motion-activated solar light for light pole at 1,500 to 4,000 lumens with a wide PIR detection angle (120 to 270 degrees) and selectable sensitivity to cover driveways and entry points without nuisance triggers.
Commercial or Roadway
An integrated outdoor solar light pole system at 4,000 to 15,000 lumens with a separate large-format solar panel post, 100 to 200 watt-hour battery, and remote monitoring capability for fleet maintenance.
A solar light for light pole is fundamentally different from the small stake-mounted solar garden lights found at mass-market retailers, though both use solar panels and LED light sources. The differences in specification, component quality, and mounting system reflect the more demanding performance requirements of pole-mounted applications — height, exposure, longer illumination duration, and the need to project useful light across a significantly larger area than a ground-level garden accent light achieves.
A solar light mounted on a pole at 3 to 8 metres height serves a fundamentally different purpose from a ground-level garden accent: it must illuminate a usable area (a driveway, a parking bay, a footpath) for the safety and security of the people and vehicles in that space. This functional requirement drives minimum lumen specifications that are 10 to 50 times higher than decorative garden lights. A solar pole light at 4 metres height producing 2,000 lumens illuminates an area of approximately 15 to 20 square metres to a ground-level illuminance of 10 to 15 lux — adequate for safe pedestrian movement. The same 2,000 lumens from a ground-level stake light illuminates only the immediate 1 to 2 square metres around the fixture because the light source is not elevated to spread across the target area.
The elevated mounting height of a solar pole system also places the solar panel in a more advantageous position for energy collection than ground-level systems. At 3 to 8 metres, the panel is above the shadow plane of most garden plantings, fences, and low structures that shade ground-level panels during the early morning and late afternoon hours when the sun angle is low. Shade during even 2 hours of a theoretical 6-hour peak sun day reduces panel energy yield by 30% to 35% from the rated output, making panel position on the pole as important as the panel's rated wattage in determining the system's actual energy collection per day.
The three solar panel integration approaches used on pole-mounted solar lighting systems differ in energy collection efficiency, aesthetic appearance, and installation flexibility:
The battery in a bright solar lamp post system stores the solar energy collected during daylight hours and delivers it to the LED driver throughout the night. Battery technology choice determines the system's service life, cold-weather performance, and depth of discharge capability — all of which affect the consistency of nightly illumination over the years-long service life of a quality outdoor solar light pole installation.
Lead Acid (SLA)
Found in older and budget outdoor solar light pole systems. Low initial cost, but heavy, requires vented enclosure to release hydrogen during charging, and deteriorates rapidly (losing 30% to 50% capacity within 2 to 3 years) when regularly discharged below 50% state of charge. Not recommended for new installations where the battery is expected to last 5 or more years.
Lithium Ion (Li-Ion)
The current standard in mid-range solar pole light products. Lighter than lead acid at the same capacity, can be discharged to 20% state of charge without damage, and provides 500 to 800 charge cycles to 80% capacity. Performance drops noticeably below minus 10 degrees Celsius, which limits effectiveness in northern climates without specific cold-rated cell chemistry.
Recommended
LiFePO4 (Lithium Iron Phosphate)
The recommended battery chemistry for any outdoor solar light pole or bright solar lamp post system. Provides 2,000 to 4,000 charge cycles to 80% capacity (5 to 12 years of service life), safe chemistry that does not risk thermal runaway, maintains 80% capacity to minus 20 degrees Celsius, and can be discharged to 10% state of charge without damage. Higher initial cost than Li-Ion is recovered through eliminated replacement cycles over a 10-year installation life.
Lumen output is the measure of total light produced by the LED head, and selecting the correct output level for the intended application is as important as all other system specifications. Too low and the area is not safely or usefully illuminated. Too high and the system's battery capacity is unnecessarily large, its cost is excessive for the application, and the light may produce glare that is uncomfortable for occupants of adjacent properties.
| Application | Pole Height | Recommended Lumens | Target Ground Illuminance | Panel Wattage Needed |
|---|---|---|---|---|
| Decorative garden path | 0.6 to 1.5 m | 100 to 400 lm | 2 to 5 lux | 2 to 8 W |
| Residential driveway or entry | 2 to 4 m | 800 to 2,500 lm | 10 to 30 lux | 15 to 30 W |
| Residential security (motion) | 3 to 5 m | 1,500 to 4,000 lm | 20 to 60 lux | 20 to 50 W |
| Commercial footpath or plaza | 4 to 6 m | 3,000 to 8,000 lm | 15 to 50 lux | 40 to 100 W |
| Parking lot or rural road | 6 to 10 m | 6,000 to 15,000 lm | 10 to 30 lux (spread over large area) | 80 to 200 W |
| Sports court or large facility | 8 to 12 m | 12,000 to 30,000 lm | 100 to 300 lux | 150 to 400 W |
Solar pole light manufacturers publish lumen figures that can be misleading without context. Three distinct lumen values may appear in the same product listing, each representing a different operating condition:
The solar panel post — referring to either the arm or bracket that positions the panel relative to the pole, or the dedicated secondary pole carrying the panel — is the most critical component in determining how much energy the overall system collects each day. A high-wattage panel on a poorly oriented or shaded panel post collects less energy than a lower-wattage panel on an optimal position, directly affecting how many hours of usable light the system delivers after sunset.
The solar panel on any outdoor solar light pole should be oriented to face the sun at the most direct angle available for the largest portion of the available daylight hours at the installation's geographic location:
The panel wattage and battery capacity of an outdoor solar light pole system must be sized together as a matched pair for the installation's geographic location (peak sun hours per day), the light's required nightly operating duration, and the desired number of overcast-day autonomy days before the system's battery is depleted to its minimum safe discharge level:
The physical pole carrying the solar lighting system must be specified for the wind and weight loads it will experience over its installation life. Key pole specification considerations for an outdoor solar light pole installation:
A bright solar lamp post or any outdoor solar light pole system must withstand the full range of weather conditions at its installation location for 5 to 15 years without requiring replacement of core components. The IP (Ingress Protection) rating system and material specifications for outdoor components provide standardized indications of weather resistance, but understanding what these ratings mean in real operating conditions is necessary to avoid purchasing products that fail prematurely in the field.
The IP code consists of two digits: the first indicates protection against solid particle ingress (dust), and the second indicates protection against liquid ingress (water). For outdoor solar pole lighting, the relevant minimum ratings are:
Cold climate operation presents specific performance challenges for outdoor solar light pole systems that do not exist in warmer climates, and buyers in northern US states, Canada, northern Europe, or mountainous regions should evaluate cold-weather specifications explicitly:
Correct installation of an outdoor solar light pole system determines whether the products deliver their rated performance over their design service life. The most common installation errors — poor site selection for shading, incorrect pole foundation depth, and inadequate cable sealing on split-panel systems — are entirely preventable with the planning steps described below.
For direct-embed steel poles (the most common residential and light commercial installation method), the foundation procedure is:
For integrated all-in-one systems, mounting involves attaching the single unit to the pole top using the included bracket and hardware. For split-panel systems connecting a separate solar panel post arm or remote panel to the light head and battery:
The solar pole lighting market serves three fundamentally different buyer segments with products that differ substantially in appearance, output, durability, and cost. Understanding which segment addresses your specific application prevents the common purchase error of selecting a decorative product for a functional application (resulting in inadequate illumination) or over-specifying a commercial product for a garden path (resulting in excessive cost and visual intrusion).
Decorative bright solar lamp post products prioritize aesthetic appearance — lantern-style fixtures in antique bronze, matte black, or brushed nickel finishes — over raw lumen output. Their intended function is to mark a driveway entrance, illuminate a garden path, or add visual character to a landscape rather than to provide working light levels for task performance or security. Key characteristics:
Functional residential solar light for light pole systems are designed to be mounted on standard 3 to 5-inch diameter aluminum or steel poles at 3 to 5 metres height and to provide usable illumination for driveways, entry areas, and property perimeters. These systems balance output capability with affordable pricing for the homeowner market:
Commercial outdoor solar light pole systems are engineered for unattended operation over 10 to 15-year design service lives, providing utility-grade illumination for parking lots, rural roads, campus pathways, and perimeter security at locations where grid connection is impractical or prohibitively expensive. Key differentiating characteristics from residential systems:
A quality outdoor solar light pole system installed correctly in a suitable location requires minimal maintenance compared to grid-connected outdoor lighting. There are no electricity bills, no conduit or wire to inspect underground, and no annual lamp replacement. However, "low maintenance" does not mean "zero maintenance," and three routine tasks performed on the appropriate schedule significantly extend the system's service life and maintain its illumination performance at the design level.
Solar panel soiling — the accumulation of dust, pollen, bird droppings, and air pollution deposits on the glass surface — reduces panel output by 5% to 25% depending on the local environment and the frequency of cleaning. In dusty environments (desert adjacent areas, agricultural regions during harvest season, or urban areas with high air pollution), panel soiling alone can reduce annual energy yield by 20% to 30% if the panel is cleaned only once per year. In wet, rainy climates where rainfall provides natural panel cleaning, soiling losses are much lower (3% to 7% per year in UK climate conditions, for example). Practical panel cleaning guidelines:
The battery is the consumable component in an outdoor solar light pole system with the most predictable replacement schedule. Battery service life depends on chemistry (as discussed in the technology section), cycle depth, operating temperature, and charge quality. Practical guidance:
The charge controller and LED driver electronics in a solar light for light pole system should be visually inspected annually for corrosion, water ingress, and pest nesting (rodents and insects frequently shelter in pole-mounted enclosures where warmth from the electronics attracts them). Connector contact corrosion — a thin green or white oxide layer on terminal pins — should be cleaned with electrical contact cleaner spray and the connection remade with a light application of dielectric grease to prevent recurrence. The light fixture lens should be inspected for UV yellowing (a natural degradation of polycarbonate lenses over 5 to 7 years of UV exposure) that reduces light output through increasing opacity. Replacement lens covers are available from most manufacturers for USD 10 to USD 40 and restore light output to near-original levels when UV yellowing has progressed to the point of visible tinting.
What are some good solar lights to put on a pole for a residential driveway?
Good solar lights to put on a pole for a residential driveway should produce 1,000 to 2,500 lumens in ambient mode (not just peak motion-triggered brightness), have a battery capacity of 20 to 40 watt-hours with LiFePO4 chemistry for reliable all-night operation, and include IP65 or better weatherproofing. Specific products that consistently earn strong user reviews in this category include the Gama Sonic GS-106D Baytown II for a lantern aesthetic with 800 lumen output and dusk-to-dawn operation, and the JACKYLED 60W All-in-One Solar Street Light for a more functional 3,000 lumen output on a standard 2-inch pole mount. For a driveway requiring both illumination and security coverage, motion-activated products at 2,000 to 3,000 lumens with 120-degree or wider PIR coverage provide the best combination of energy conservation (reduced output when no motion is detected) and response brightness when vehicles or pedestrians approach.
How bright should a solar lamp post be for safe outdoor use?
A bright solar lamp post for safe outdoor use should achieve a minimum ground illuminance of 10 lux in the area it is intended to illuminate. For a pole at 3 metres height illuminating a 5-metre-diameter circle below it, achieving 10 lux requires approximately 1,000 to 1,500 lumens of downward-directed output from the fixture (accounting for typical LED optic efficiency and air transmission losses). For safety-critical areas such as steps, vehicle entrances, or areas where trips and falls are a risk, 20 to 30 lux is a more appropriate target, requiring 2,000 to 3,000 lumens from the same 3-metre mounting height. For purely decorative path marking where ambient visual orientation rather than task-level illumination is the goal, 100 to 400 lumens from a low-mounted post at 0.5 to 1 metre height creates a pleasant visual effect at well below the threshold that would cause light trespass to neighboring properties.
What is the best solar panel post orientation for maximum energy collection?
The best solar panel post orientation for maximum annual energy collection in the northern hemisphere is true south-facing (not magnetic south, which differs from true south by the local magnetic declination angle, available from free online tools such as the NOAA magnetic declination calculator) at a tilt angle from horizontal equal to the site's geographic latitude. At 35 degrees north latitude, a south-facing panel at 35-degree tilt collects approximately 97% of the theoretical maximum annual energy yield for that location. Deviating 30 degrees from true south (southeast or southwest facing) reduces annual yield by approximately 5%, and a 90-degree deviation (east or west facing) reduces annual yield by 15% to 20%. Panel tilt deviations have a smaller effect: a tilt angle of 20 degrees rather than the optimal 35 degrees reduces annual yield by approximately 3% to 5%. The most impactful factor — significantly larger than azimuth or tilt optimization — is avoiding shading, because even partial shading of 10% to 20% of panel area can reduce output by 50% or more depending on the panel's bypass diode configuration.
How do I choose between an integrated all-in-one solar pole light and a split-panel system?
Choose an integrated all-in-one system when: the installation site receives consistent, direct sunlight for 4 or more hours per day at the pole-top height; the required light output is 4,000 lumens or below; installation simplicity is a priority; and the budget is in the USD 80 to USD 300 range. Choose a split-panel system with a dedicated solar panel post arm or remote panel when: the light head location receives partial shade but a better solar access position exists elsewhere on the pole or nearby; the required output is above 4,000 lumens; or the installation is commercial-grade with a 10 or more year service life expectation where component-level maintenance and replacement is planned. The split-panel approach adds installation complexity and cost but enables a higher panel wattage than any integrated design can accommodate at the same pole-top form factor, directly improving the system's energy autonomy and performance in low-sun or cloudy conditions.
Do outdoor solar light pole systems work in winter or in cloudy climates?
Outdoor solar light pole systems work in winter and cloudy climates, but their performance is reduced relative to summer or sunny-climate operation, and the system must be sized appropriately for the worst-case seasonal conditions at the installation location. In northern Europe (UK, Germany, Scandinavia), a solar pole light system correctly sized for local winter conditions with 2 to 3 days of battery autonomy and a panel wattage 2 to 3 times the summer-sized minimum will operate reliably year-round. The key sizing adjustments for cloudy or northern climates are: a larger panel (to collect more energy per day in lower-intensity diffuse light conditions); a larger battery (to provide more nights of autonomy when consecutive overcast days reduce charging); and LiFePO4 battery chemistry (to maintain adequate discharge capacity at the low temperatures that accompany winter overcast conditions). Systems that fail to operate through winter are almost always undersized rather than fundamentally incompatible with cold or cloudy climates.
What pole height is best for a solar light for light pole?
The best pole height for a solar light for light pole depends on the area being illuminated and the light output of the fixture. For garden path marking with 200 to 500 lumen fixtures, 0.5 to 1.5 metres is appropriate. For residential driveway and entry illumination with 1,000 to 2,500 lumen fixtures, 2.5 to 4 metres is the standard range. For commercial pathway and parking lot illumination with 3,000 to 8,000 lumen fixtures, 4 to 6 metres provides the pole height needed for the light to distribute its output across a useful area without creating hotspots directly below the pole and dark areas between poles. A useful general rule: pole spacing in a pathway or parking lot should be no greater than 3 to 4 times the pole height for continuous illumination coverage between poles. At 5-metre pole height, poles should be spaced no more than 15 to 20 metres apart along a pathway to avoid dark gaps between illuminated circles, assuming fixtures with a standard wide-angle flood optic rather than a specialized asymmetric road optic.
How long will a solar pole light run each night?
A quality solar pole light system should run throughout the full night from dusk to dawn (typically 10 to 14 hours depending on season and latitude) when the battery is fully charged. The battery capacity that enables this depends on the LED power draw and the operating mode. A 10-watt LED drawing power continuously for 12 hours requires 120 watt-hours from the battery. A quality 40 watt-hour battery at 80% usable depth of discharge provides 32 watt-hours of usable capacity — sufficient for the same 10-watt LED operating for approximately 3.2 hours, not 12. This reveals the common misleading specification: a system claiming 10-watt-hour-equivalent battery capacity and 12-hour operating time must either operate at very low ambient brightness (1 to 2 watts) with brief peak motion brightness, or the claim is made under specific conditions that do not reflect all-night operation at the advertised peak output. Systems that genuinely provide full-brightness all-night operation use batteries in the 100 to 200 watt-hour range for 10 to 20 watt LED systems, which corresponds to the commercial-grade product segment at USD 300 to USD 800 per system.
Can I mount a solar light on an existing metal pole?
Yes, most solar light for light pole products designed for residential and commercial installation include adjustable mounting brackets or slip-fit adapters that accommodate standard round steel or aluminum poles in the 2-inch to 4-inch outer diameter range. Before purchasing, measure the outer diameter of the existing pole at the planned mounting height and confirm the product's bracket range includes that dimension. Some products specify a single exact diameter (for example, only fitting 2.375-inch OD standard schedule 40 steel pipe); others include multi-position hose clamp-style brackets that accommodate a range from 1.5 inches to 4 inches OD. For square or unusual-profile poles, universal steel strap-style mounting bands (available separately for USD 5 to USD 20) allow virtually any circular or near-circular pole cross-section to be fitted with a standard light head bracket by strapping the bracket adapter around the pole.
How much does it cost to install an outdoor solar light pole system?
The cost of an outdoor solar light pole system installation ranges from USD 150 to USD 10,000 per pole depending on the application and system specification. For a residential decorative bright solar lamp post with an integrated solar fixture and pre-assembled pole, total material cost including the fixture, pole, and foundation materials (concrete, anchor hardware) is USD 150 to USD 500 with DIY installation taking 3 to 5 hours of work. For a residential functional system with a 3-metre aluminum pole and a 2,000-lumen all-in-one solar head, material cost is USD 200 to USD 600 and professional installation adds USD 150 to USD 400 in labor. For a commercial-grade outdoor solar light pole system at a parking lot or rural road, the solar and lighting components cost USD 600 to USD 2,500 per pole, the galvanized steel pole and concrete foundation add USD 300 to USD 800 per pole, and professional installation labor adds USD 400 to USD 1,200 per pole, giving a total installed cost of USD 1,300 to USD 4,500 per pole depending on system size and site conditions. These solar installation costs compare favorably against the trenching, conduit, wiring, and transformer infrastructure required for grid-connected equivalents, which typically cost USD 3,000 to USD 15,000 per pole in new infrastructure installations depending on distance from the grid connection point.
What maintenance does a solar light for light pole require each year?
A solar light for light pole system requires three routine annual maintenance tasks: panel cleaning (removing accumulated dust, pollen, and bird droppings from the panel glass surface with a soft cloth and clean water every 1 to 3 months depending on local air quality conditions), annual visual inspection of the mounting hardware and pole structure for corrosion, loose fasteners, or structural damage from wind or impact events, and an annual check of the controller status LED or display to confirm the system is recording normal daily charging and operating cycles. Scheduled replacement maintenance includes battery replacement every 4 to 10 years depending on battery chemistry (Li-Ion or LiFePO4 respectively) and LED driver replacement every 8 to 12 years if the light output has declined to below 70% of original levels from LED lumen maintenance degradation. These maintenance intervals are significantly longer and less costly than grid-connected outdoor lighting equivalents, which require annual lamp replacement for HPS or metal halide fixtures, ballast replacement every 5 to 7 years, and ongoing electricity cost throughout the system's service life.
Related Products
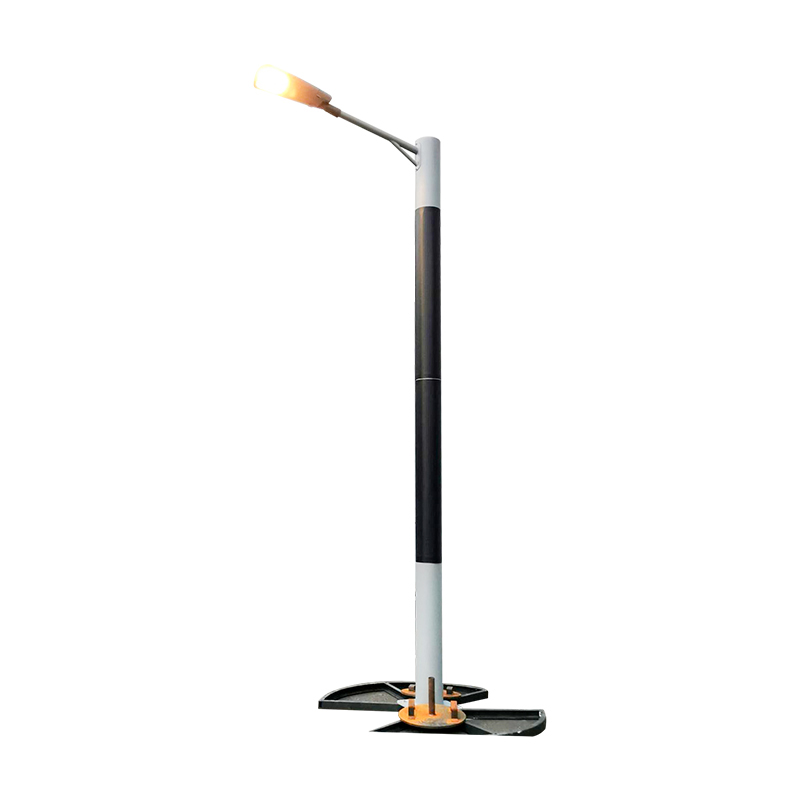 DDK-SSPL-2000 Cylinder Solar Pole Single/Double Arms And Street LED Lamps
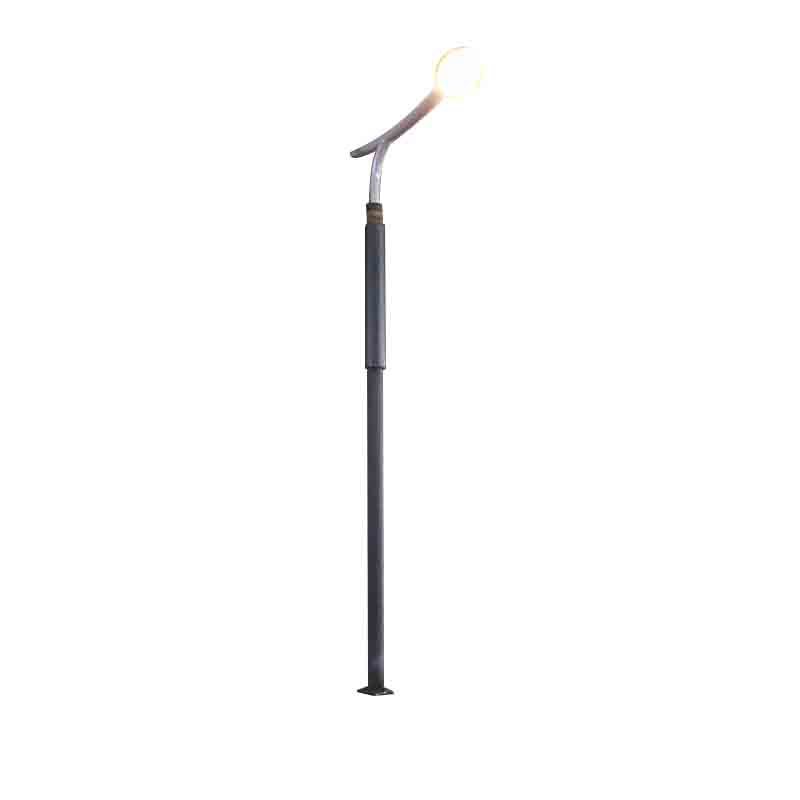 DDK-SSPL-2002 Cylinder Solar Pole With Lamp Head
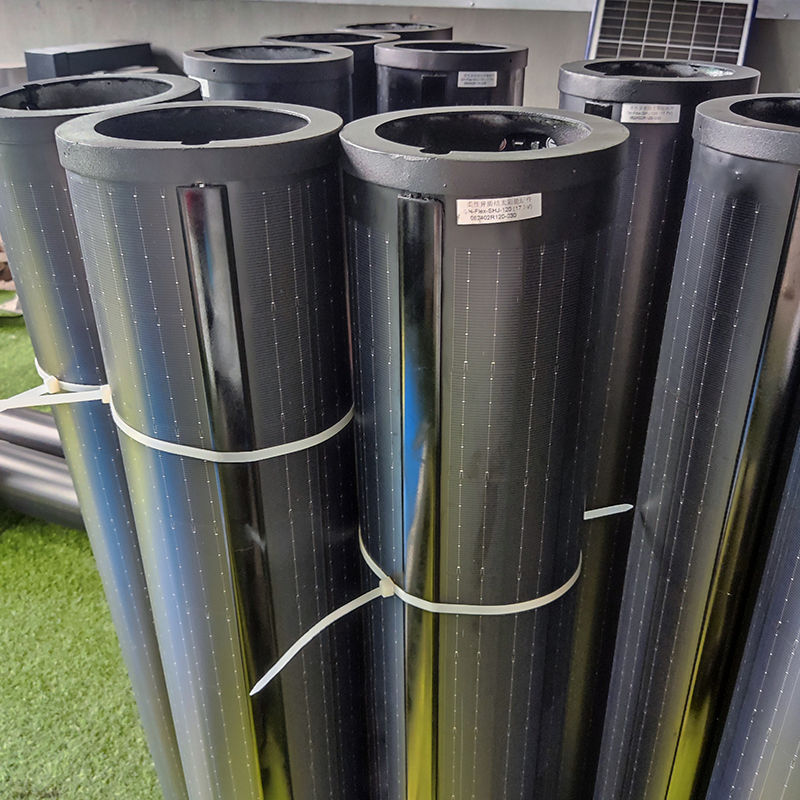 140W Flexible Solar Panel: High-Performance, Elegant and Versatile Power Solution for Lighting Poles and Park Lightings
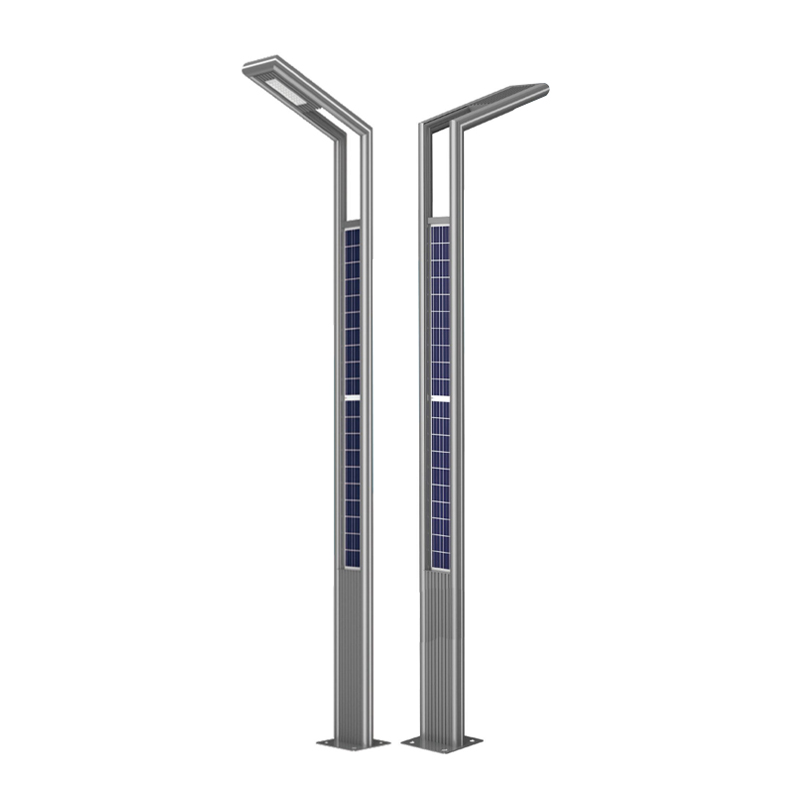 DDK-GN003 Double Sides Integrated Solar Aluminium Pole
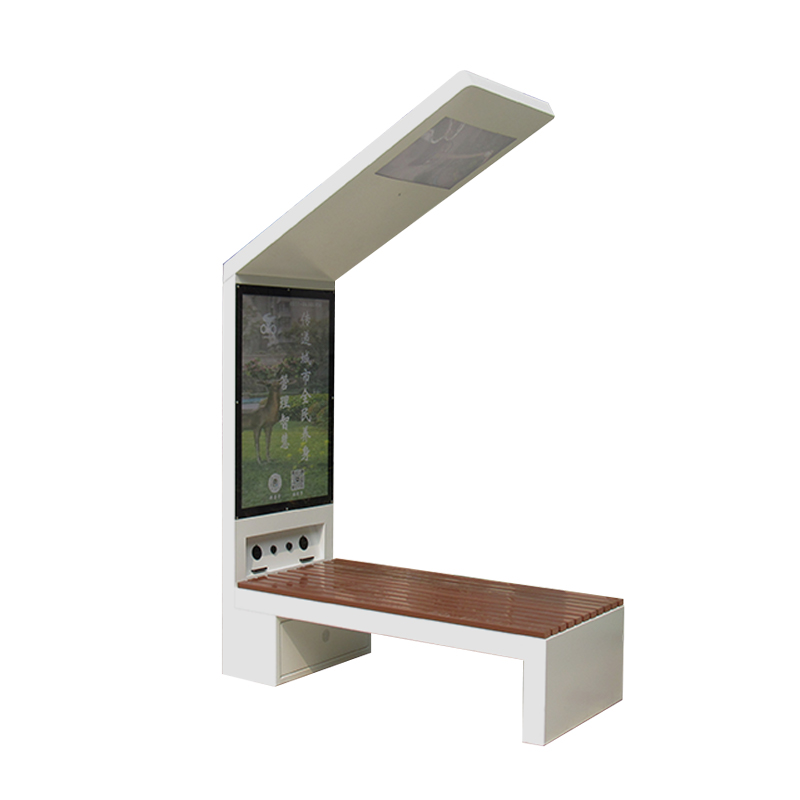 DDK-2000A Charging WIFI Solar Bench Outdoor Bench with Roof on the Top
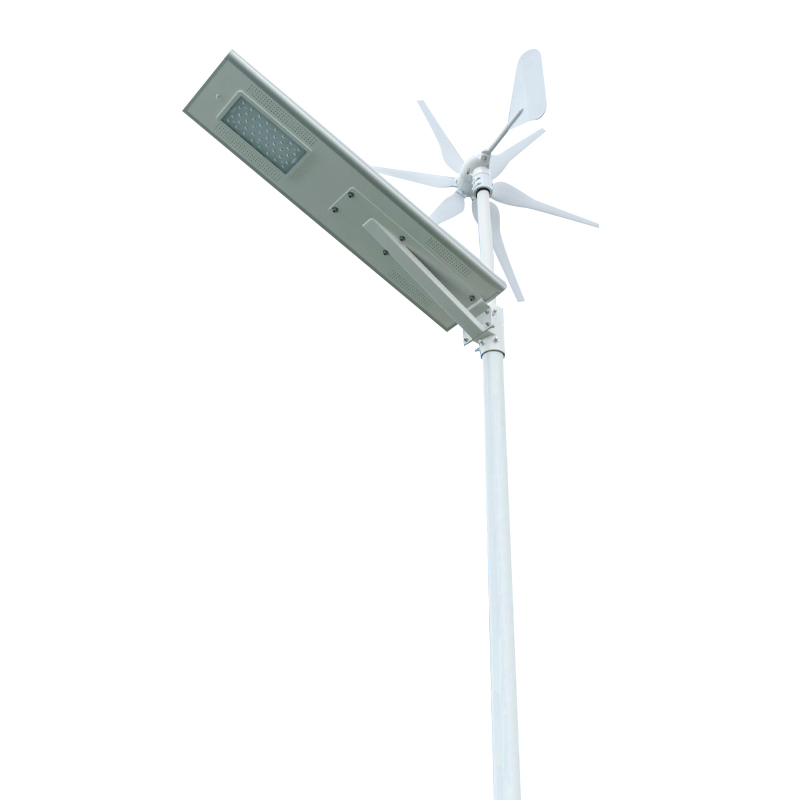 DDK G01 Solar&Wind Hybrid Integrated Optical Lens Solar All in One Light
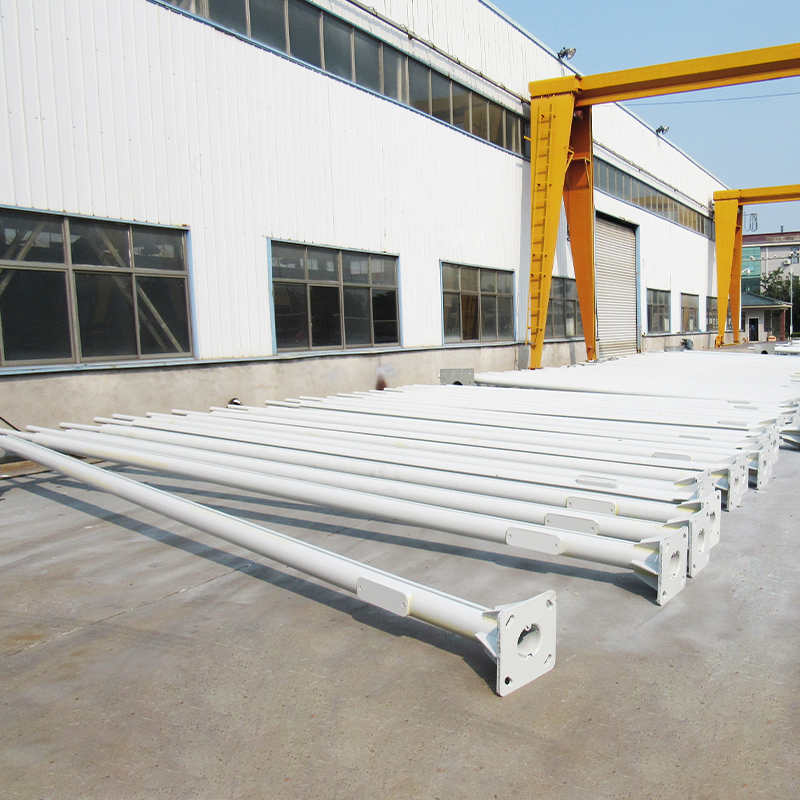 Customized Round Hexagon Octagonal Square Steel Street Light Poles for Outdoor Lightings
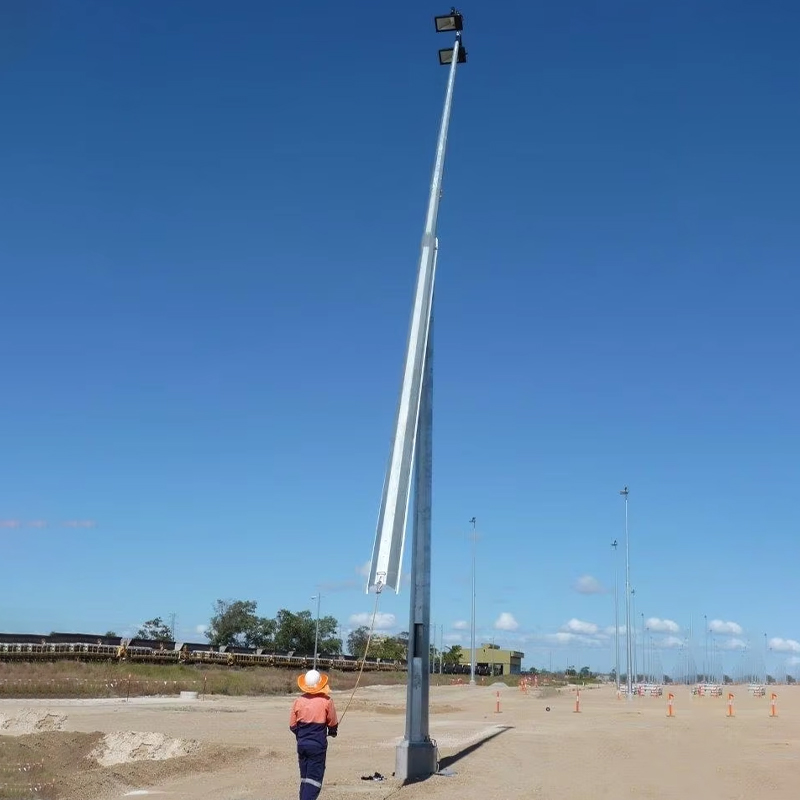 3 to 16M Galvanized Steel Hinged Poles
Contact us
180 meters south of the intersection of Nanbei Avenue and Xuba Road, Gaoyou City, Yangzhou City, Jiangsu Province, China.
+86-18811954888
ddk@cnddk.net
 English
 русский
 Español
 عربى
عربى

